
일반 Migration Update from Team Foundation Server (TFS) 2013 to TFS 2015 (With Reporting and SharePoint)
| sitelink1 | https://blogs.msdn.microsoft.com/tfssetu...harepoint/ |
|---|---|
| sitelink2 | |
| sitelink3 |
This is a walkthrough of TFS 2013 upgrade to TFS 2015 on a new hardware. During this upgrade our TFS 2013 server would be untouched and we would migrate all components (TFS, SharePoint and Reporting) to a new hardware which would be used by TFS 2015.
Note: This post provides a general guidance and some steps may vary depending on your environment.
In this post I am upgrading from TFS 2013 QU5 to TFS 2015, but steps would be almost same for other versions also.
Steps to upgrade SharePoint, however may differ from version to version.
Environment Details:
TFS 2013 environment
Windows server 2012 R2, TFS 2013 update 5, SQL 2014 SP1, SharePoint 2013 SP1
TFS 2015 environment
Windows server 2012 R2, TFS 2015 RTM, SQL 2014 SP1, SharePoint 2013 SP1
Permission Requirements:
The Account running the upgrade needs to have the following permissions for SQL, SharePoint, TFS, and server.
-Local Administrator on the Application Tier.
-Sysadmin on SQL Instance.
-Local Administrator on Reporting Tier as well.
-SharePoint Farm Administrator.
Upgrade Process:
In this migration upgrade scenario, the requirement for operating system, SQL server and SharePoint remains same for both the versions of TFS. Refer here more information.
You must use the TFSServiceControl command to ensure that all necessary operations, services, and application pools are stopped for maintenance tasks. Find more info here. (this is needed to ensure that while backing up TFS databases all databases are in consistent state)
Please note, on my server I backed up following databases from 2013 environment, databases names and number of databases may vary from environment to environment.
Backup all the databases from TFS 2013, the databases to backup are listed below.
- The Configuration Database (For instance, Tfs_Configuration). This database stores the catalog of resources and the configuration information for Team Foundation Server. This database contains the operational stores for Team Foundation Server.
- The Collection Database(s) (For instance, Tfs_DefaultCollection). This database stores data from all team projects in that collection. (you can have multiple collection databases)
- The Warehouse Database (For instance, Tfs_Warehouse). This database stores the data for reports.
- The Analysis Database (For instance, Tfs_Analysis). This multi-dimensional database stores the aggregated data from team project collections.
- Report Server Databases (For instance, ReportServer and ReportServerTempDB). The report server database stores application state and persistent data. Each report server database uses a related temporary database to store session and execution data, cached reports, and work tables that are generated by the report server.
- SharePoint Content Databases (For instance, WSS_Content). This database stores all the content related to the application.
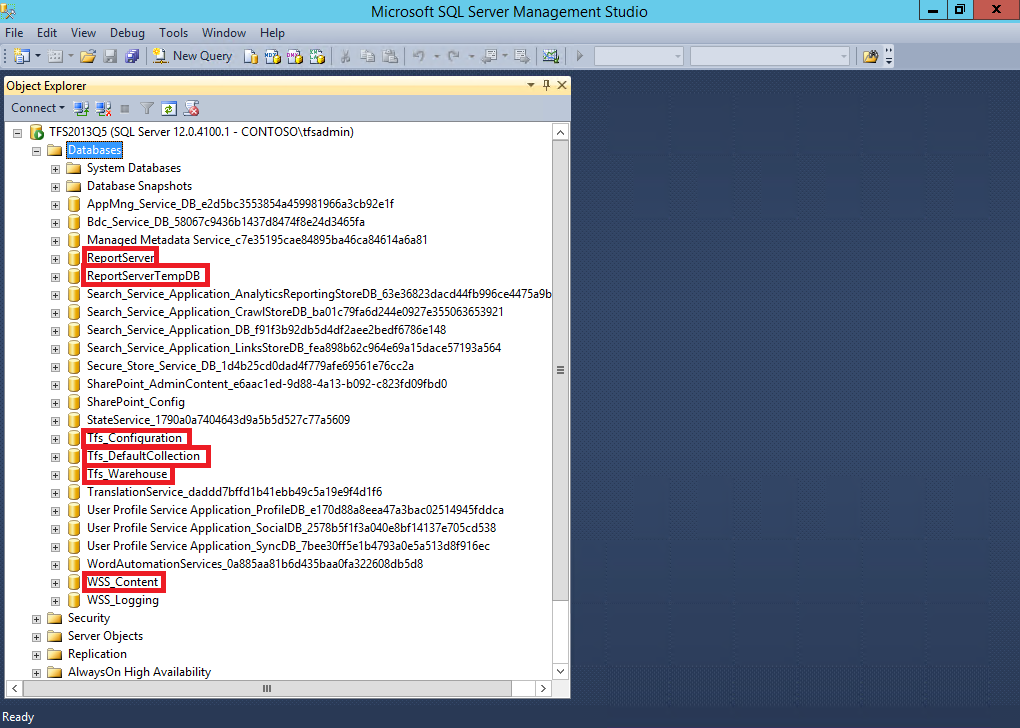
Note: SharePoint_Config and SharePoint_AdminContent database are created when SharePoint is installed and configured. So, the only database to backup is WSS_Content for SharePoint.
Also, you have to back up the Encryption keys of ReportServer database.
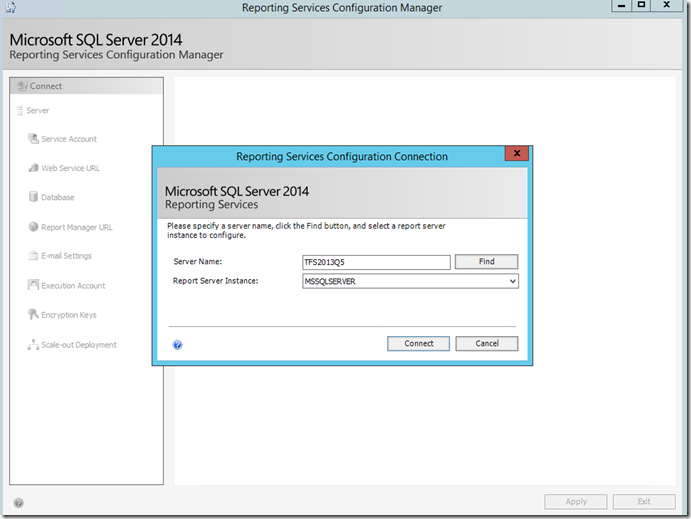
Open Reporting Services Configuration Manager to take backup of the encryption key. Enter server and report server instance name and click connect.
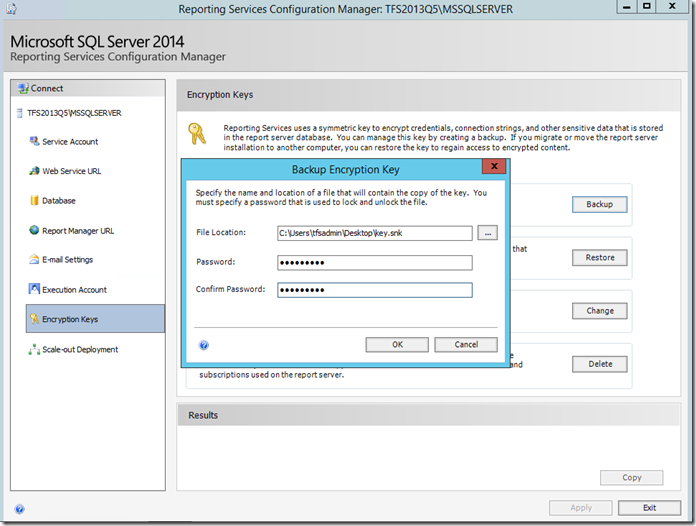
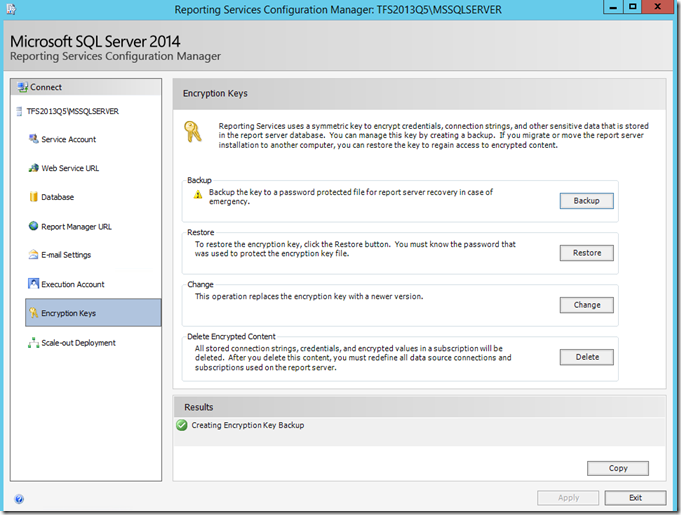
Select Encryption Keys and click on Backup. Specify the file location to store backup of key. Enter password and click ok.
Following are the screens of the installation and upgrade process,
Step 1: Installing SQL server and restoring databases.
On the new server, install SQL Server 2014. For step by step instructions on how to install SQL Server, refer here.
Once we’ve installed SQL Server, using the SQL Server Management Studio, connect to the database engine and restore all the databases. Also, connect to the Analysis engine and restore Analysis Database.

Step 2: Configuring Reporting.
After restoring the reports database, we need to change databases in Reporting Services Configuration Manager.
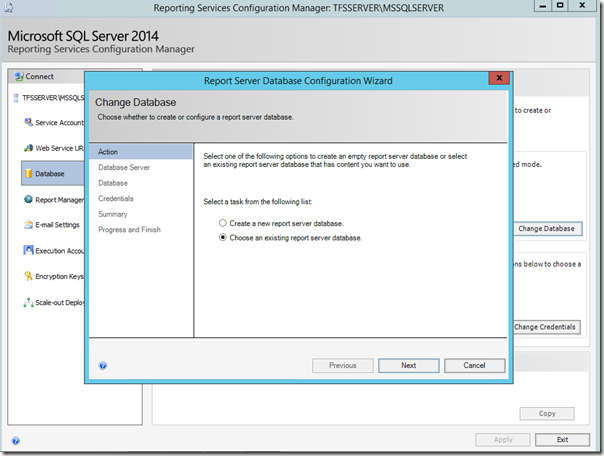
Select Database on the left panel and click on Change Database.
Choose an existing report server database. Click on Next.
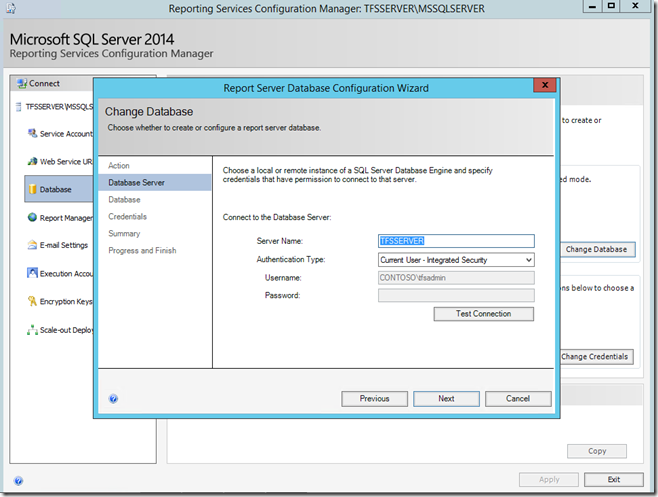
Specify server name and Test Connection. Click on Next.
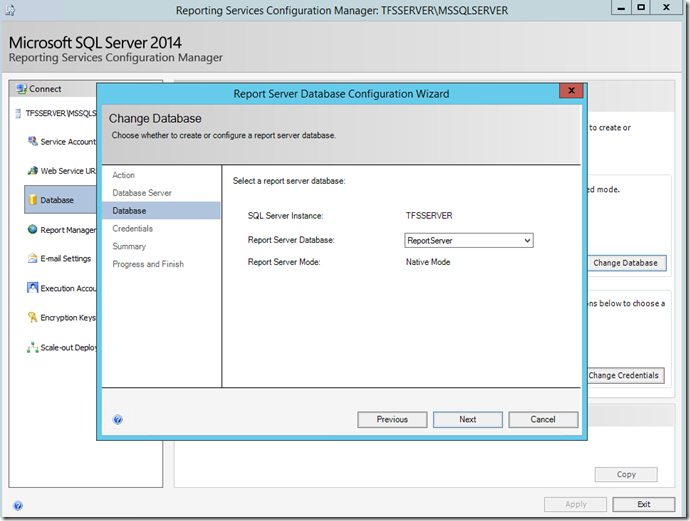
Select ReportServer database from the drop down and click next.
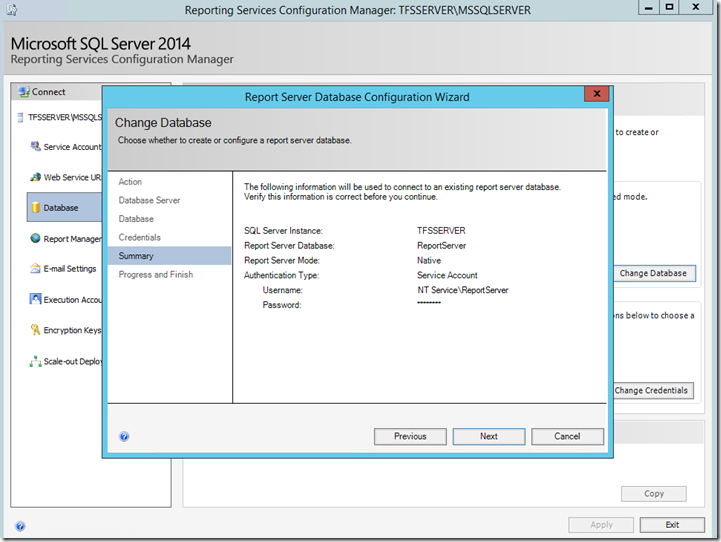
Review and complete the wizard.
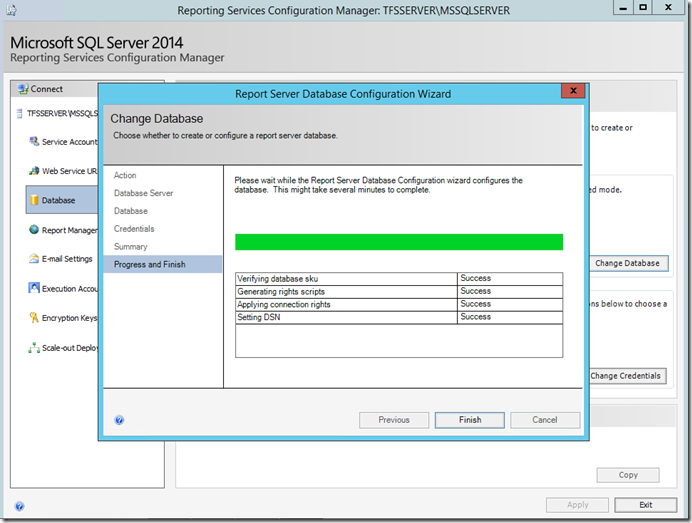
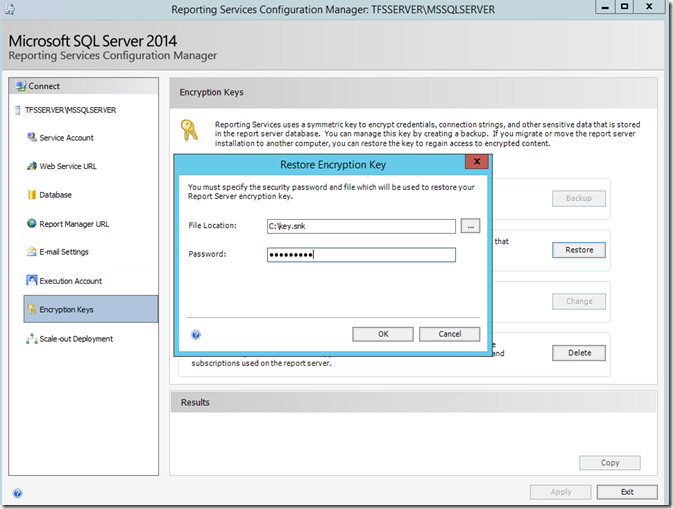
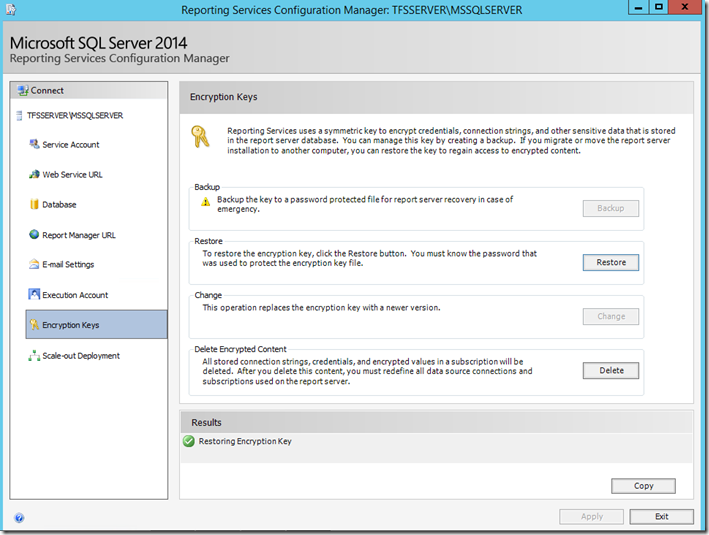
After changing the database, we need to restore the encryption key.
select the encryption keys in the left panel, click on restore. Enter the file location and password.
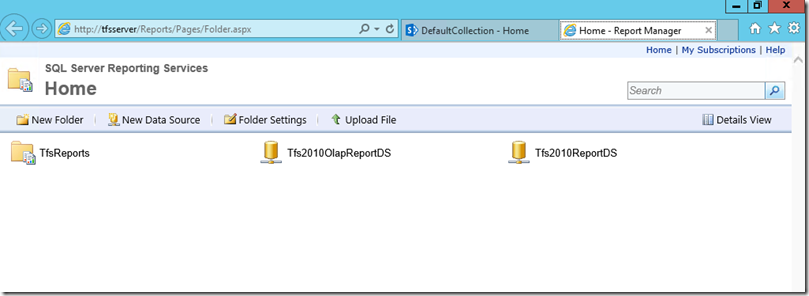
Select Report Manager URL in the left panel and click on the URL to see if Reports are configured properly. (please ensure that reports manager page is coming up fine before proceeding, any issue with reports can lead to reports not working after upgrade and may require additional steps post upgrade)
(Below steps are for SharePoint installation configuration, you can skip them if you are not using SharePoint with TFS).
Step 3: Installing and Configuring SharePoint.
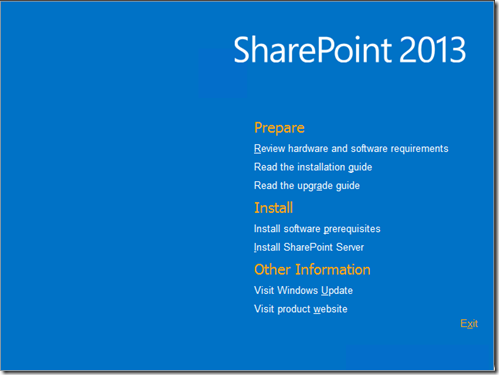
Click on Install software prerequisites, it will all the required files. Upon completion, click on Install SharePoint Server.
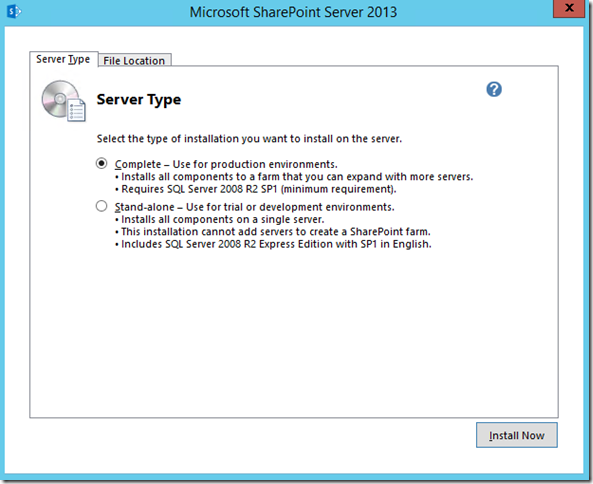
Select complete as the server type and click on install now. This will install all the binaries.
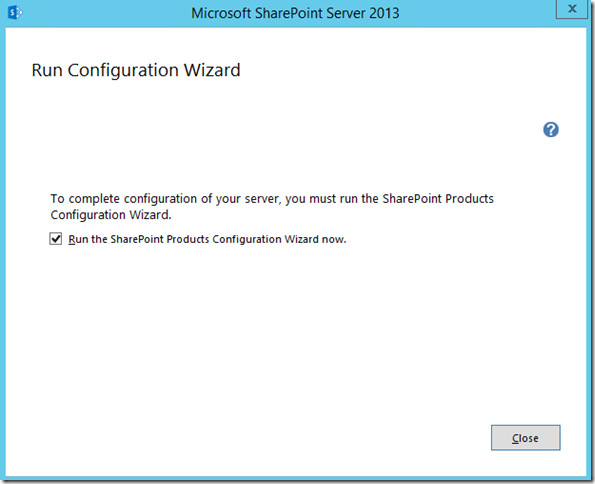
Check run the SharePoint Product Configuration Wizard now and click on Close.
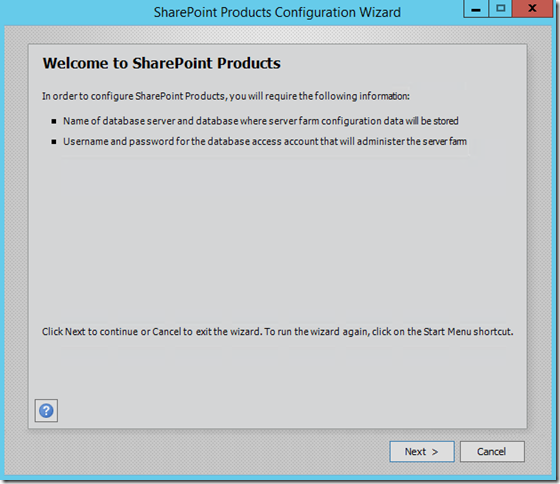
Click on next.
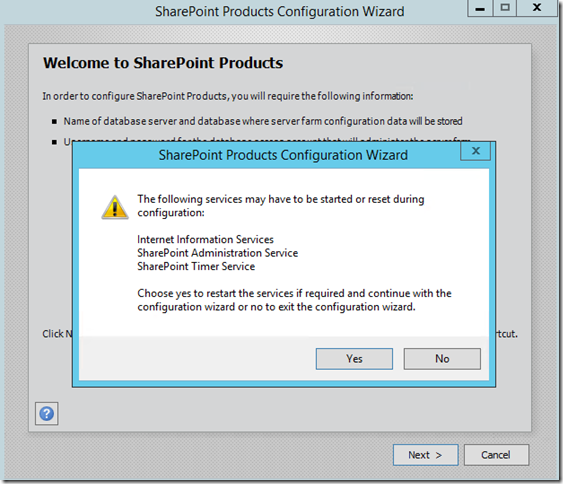
Configuring a new farm would require reset of some services. Click on Yes to confirm.
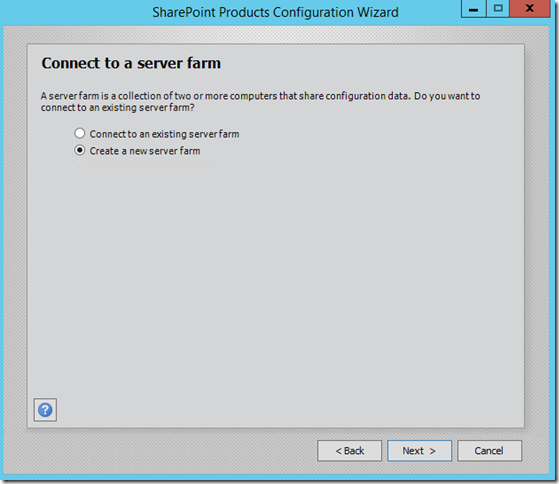
Select Create a new server farm and click on next.
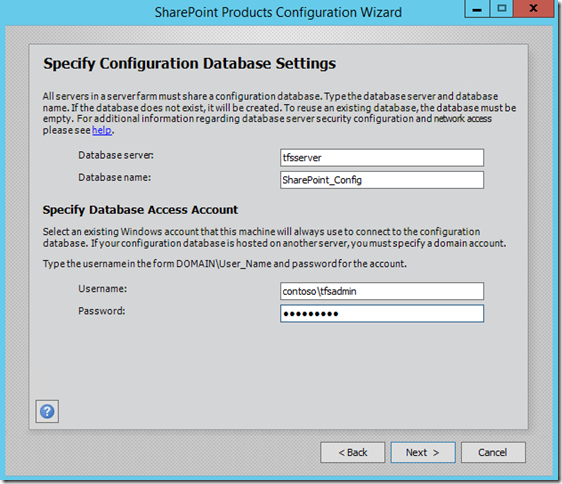
Enter the database server name and specify the database access account.
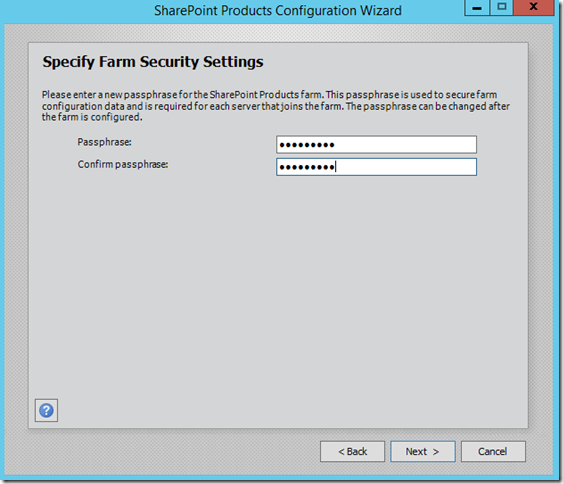
Enter the passphrase, which is used to secure farm configuration data and to join the farm.
Specify any available port. The SharePoint central administrator will use this port.
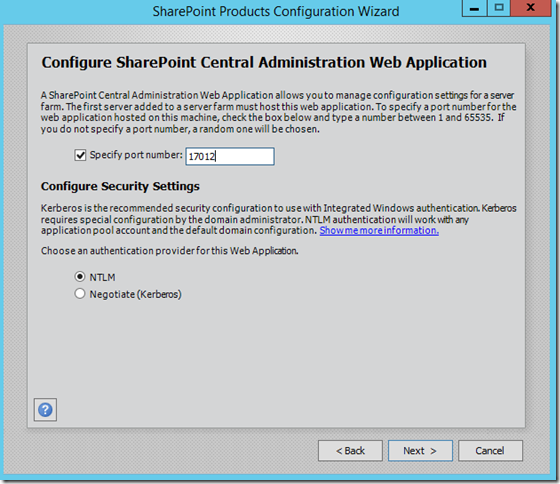
Review and click on next.
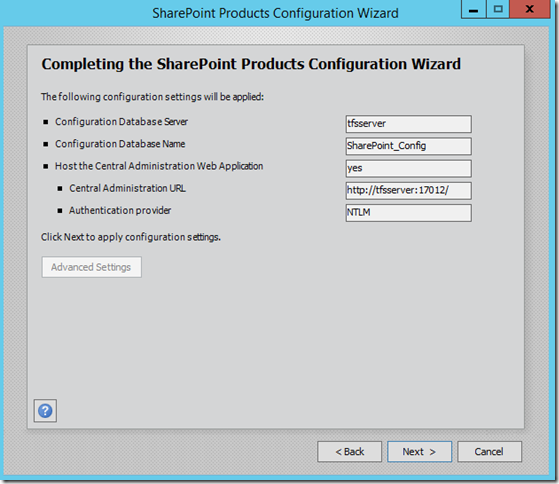
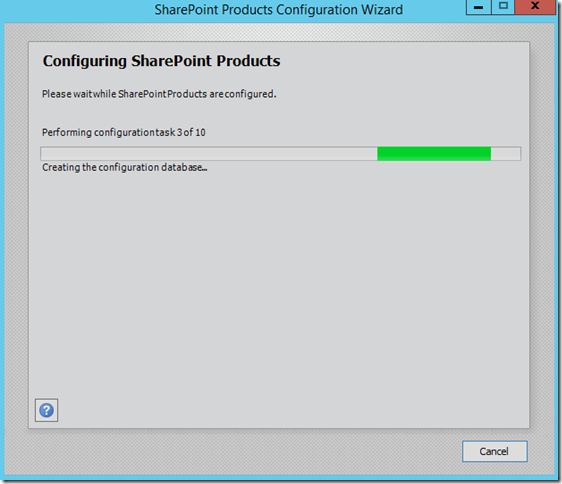
Click on finish to complete configuration.
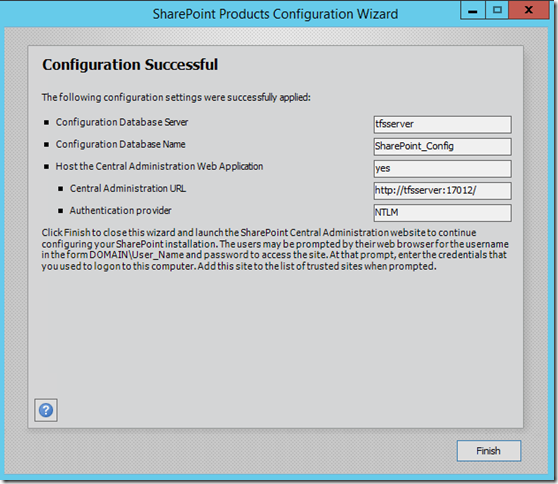
Now that we’ve configured SharePoint, go to SharePoint Central Admin page, give the admin credentials.
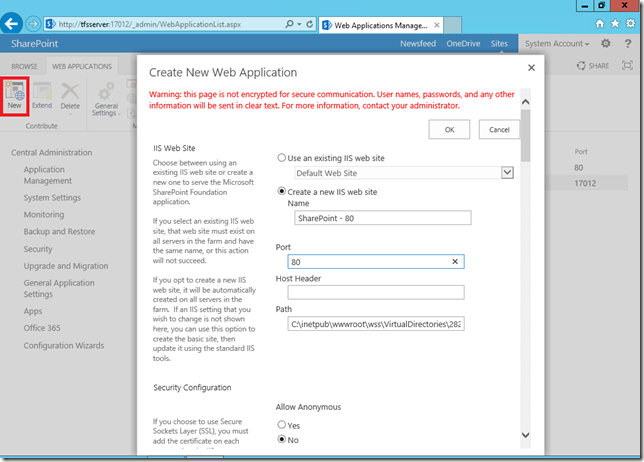
In SharePoint central Admin, click on manage web application under Application Management.

Click on New to create new web application. Specify the web site name and port number. Also, specify the credentials and click on ok.
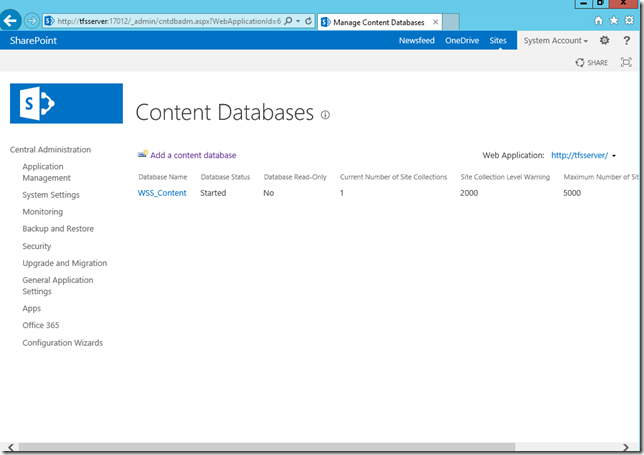
Click on Manage Content Database from Central Administrator site. Select the web application we created and check Remove content database. (this is to remove the new content database which was created while creating new web application. We would attach the content database which we migrated from TFS 2013 environment). 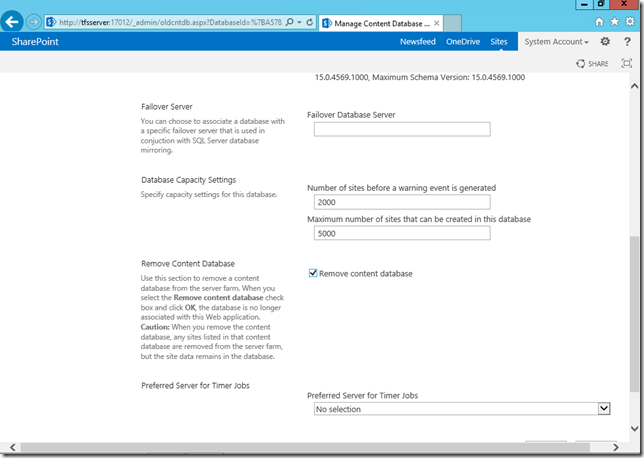
Open SharePoint 2013 Management shell and use Mount-SPContentDatabase to attach the old content database. Refer here.
Step 4: Configure Team Foundation Server.
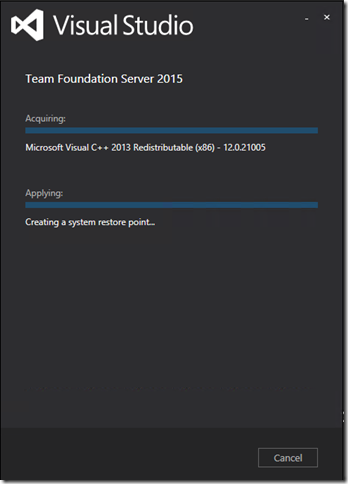
Install TFS 2015 binaries by running tfs_server.exe application. Click on Install.
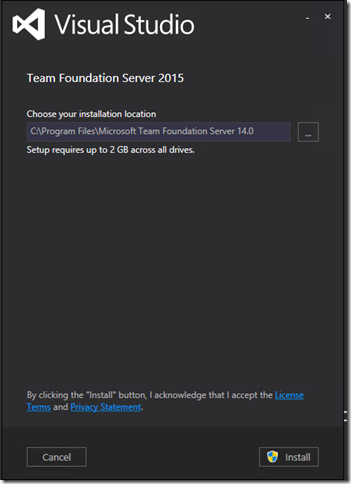
This process will install the required binaries.
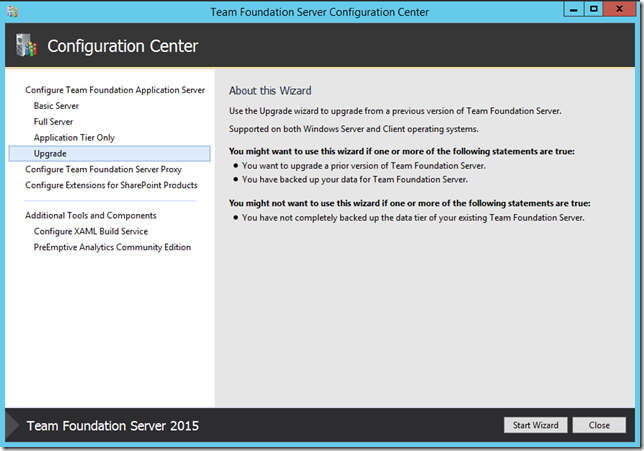
The TFS installation wizard will complete and configuration wizard will open. Choose the upgrade option from the left pane. Click on Start Wizard.
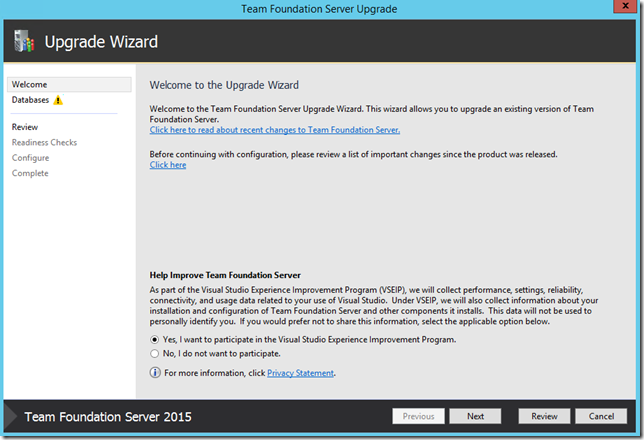
Click on Next.
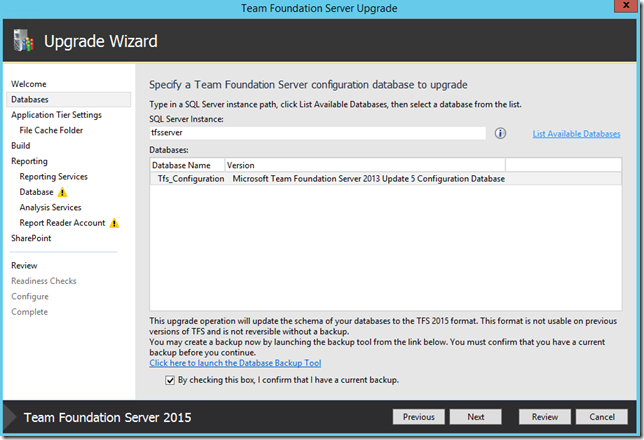
Enter the SQL Server/Instance name, click List Available Databases, this will list the configuration database of previous version, then select a database from the list. Check the box, confirming that backup is taken, then Click on Next.
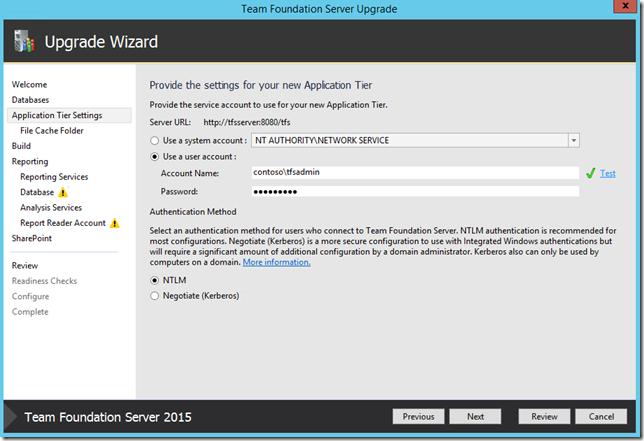
Provide the service account, service account can be Network Service or user account. Also, select the Authentication method.
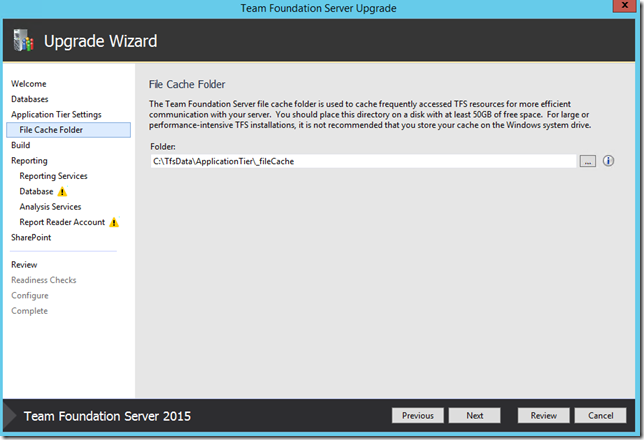
Set the file cache folder path. By default, path will be set but you can change the same.
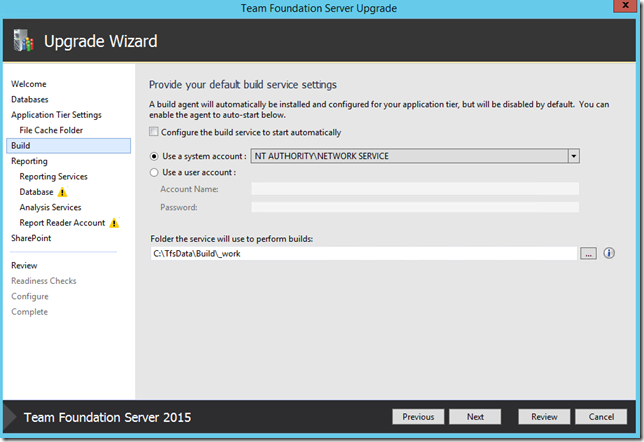
If build is configured, provide the service account and click on Next.
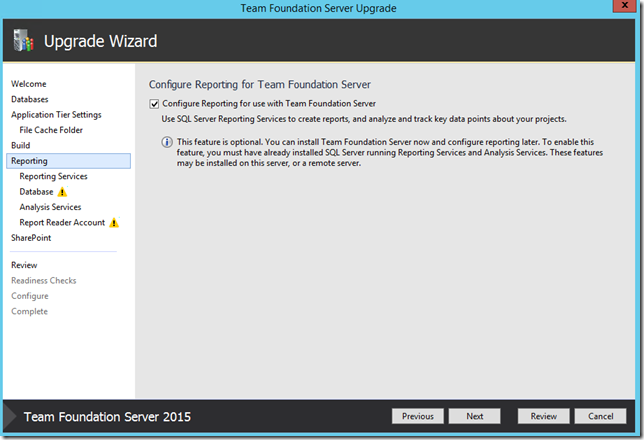
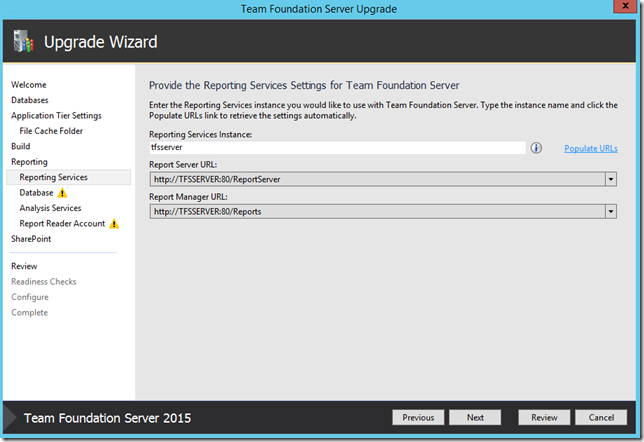
Select the Configure Reporting for use with Team Foundation Server and Click on Next.
Enter the reporting services Instance name and click on Populate the URL for reporting service configuration. Validate the URL by browsing to the URL on a browser. Click on Next.
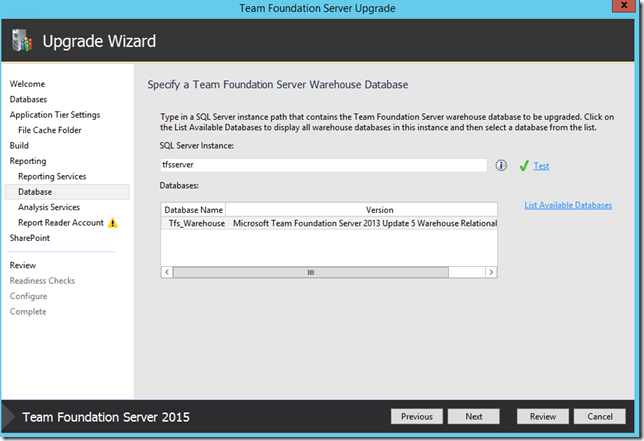
Specify SQL server instance name, do test and click on List Available Databases. Select the warehouse database and Click on Next.
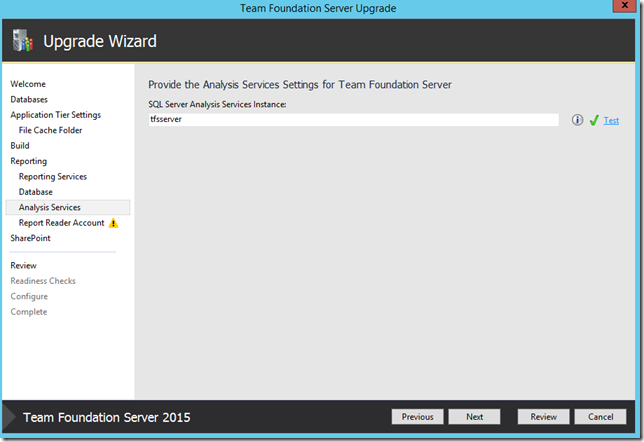
Enter the analysis instance name. TFS will automatically identify and use TFS_Analysis. Click on Next.
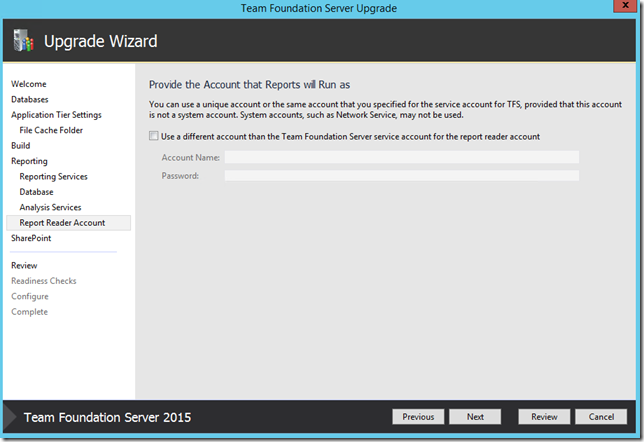
Separate reader account for reports can be provided. If we proceed without entering any account, the same account for TFS Reports as TFS Services which we have set earlier. However, if you had used Network Service as TFS Service account then we have to specify a different account here as we cannot use Network Service as TFS Reports Reader account.
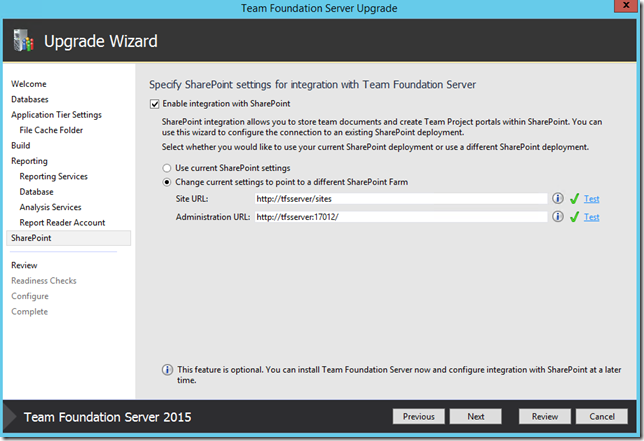
Check Enable integration with SharePoint. Select Change current setting to point to a different SharePoint Farm and do a test. Click on Next.
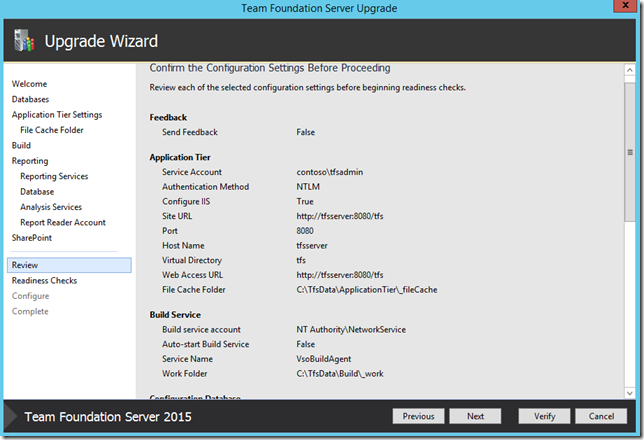
Review all the settings before proceeding. Click on Next.
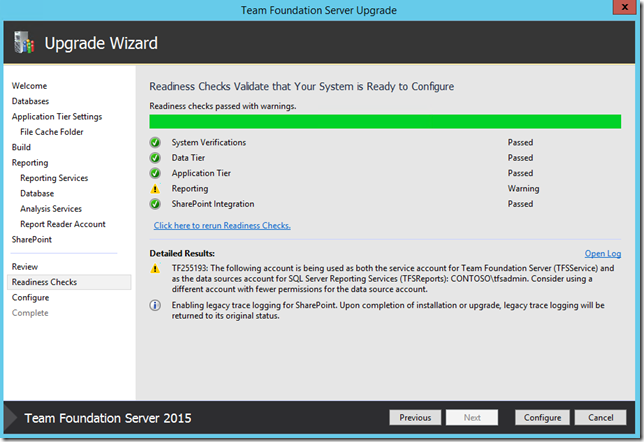
Make sure all the Readiness Checks are validated. In this scenario, there is warning for Reporting and it’s complaining about the service account because for TFS and Reporting same account is used. This warning can be ignored. Click on next.
This step will configure the Application Tier and start the upgrade of Project Collection(s) in the background. Proceed with next to monitor the collection upgrade.
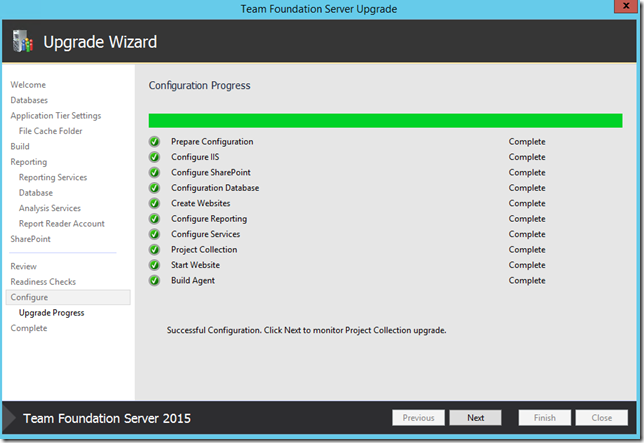
Project collection are upgraded. Click on Next.

Review the results and close the wizard. This will automatically open TFS Administration console.

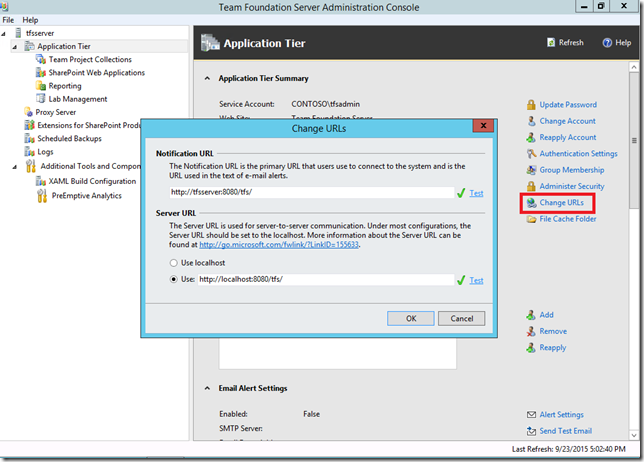
In TFS Administration Console, we still see the old server URL under notification and web access URL.

Click on Change URLs, specify the notification and server URLs and do a test. Click on ok.

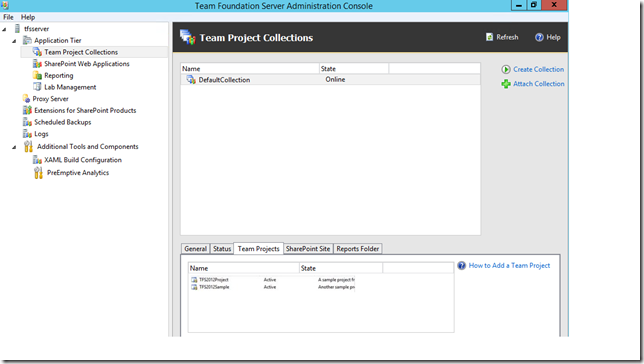
Click on Team Project Collection in the left panel, click on Team Projects and check If you can see all the team projects.
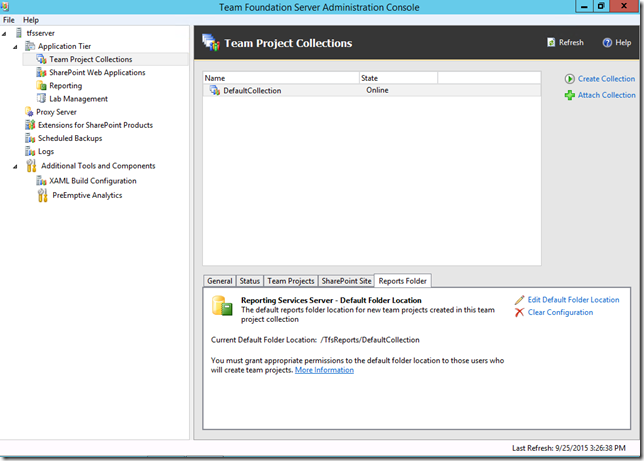
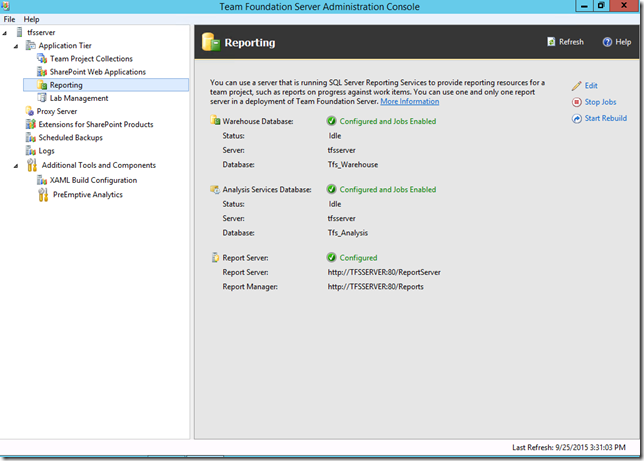
Under Reporting, check if Reporting is configured and jobs are enabled.
Try browsing the notification URL to see if you are able to view notification URL.

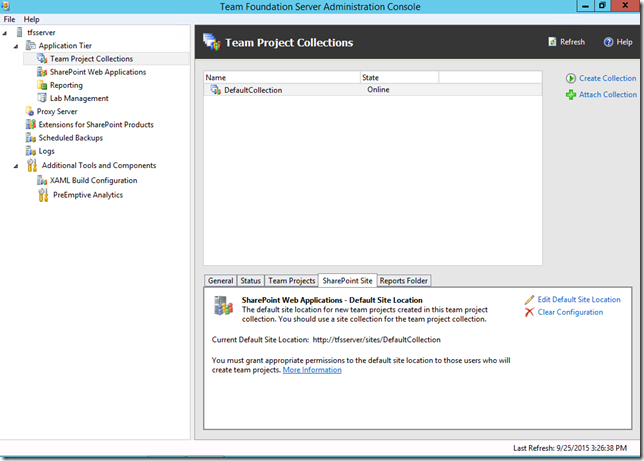
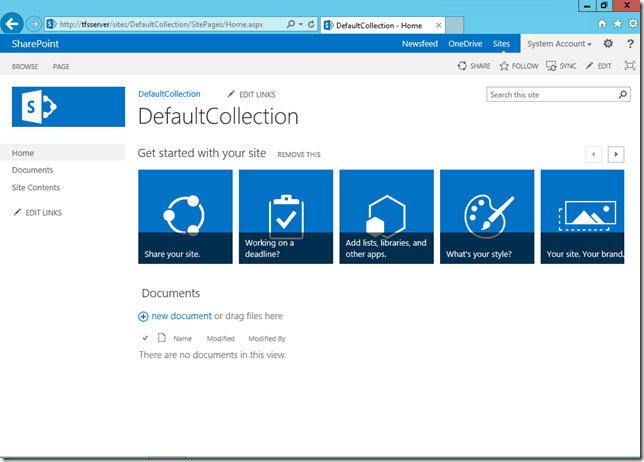
Try browsing SharePoint site for collection and check if you can navigate to the projects.
That’s it, your TFS 2015 is up and running.
Content Created By : Ramandeep Singh
Content Reviewed By : Romit Gulati